
Before you start
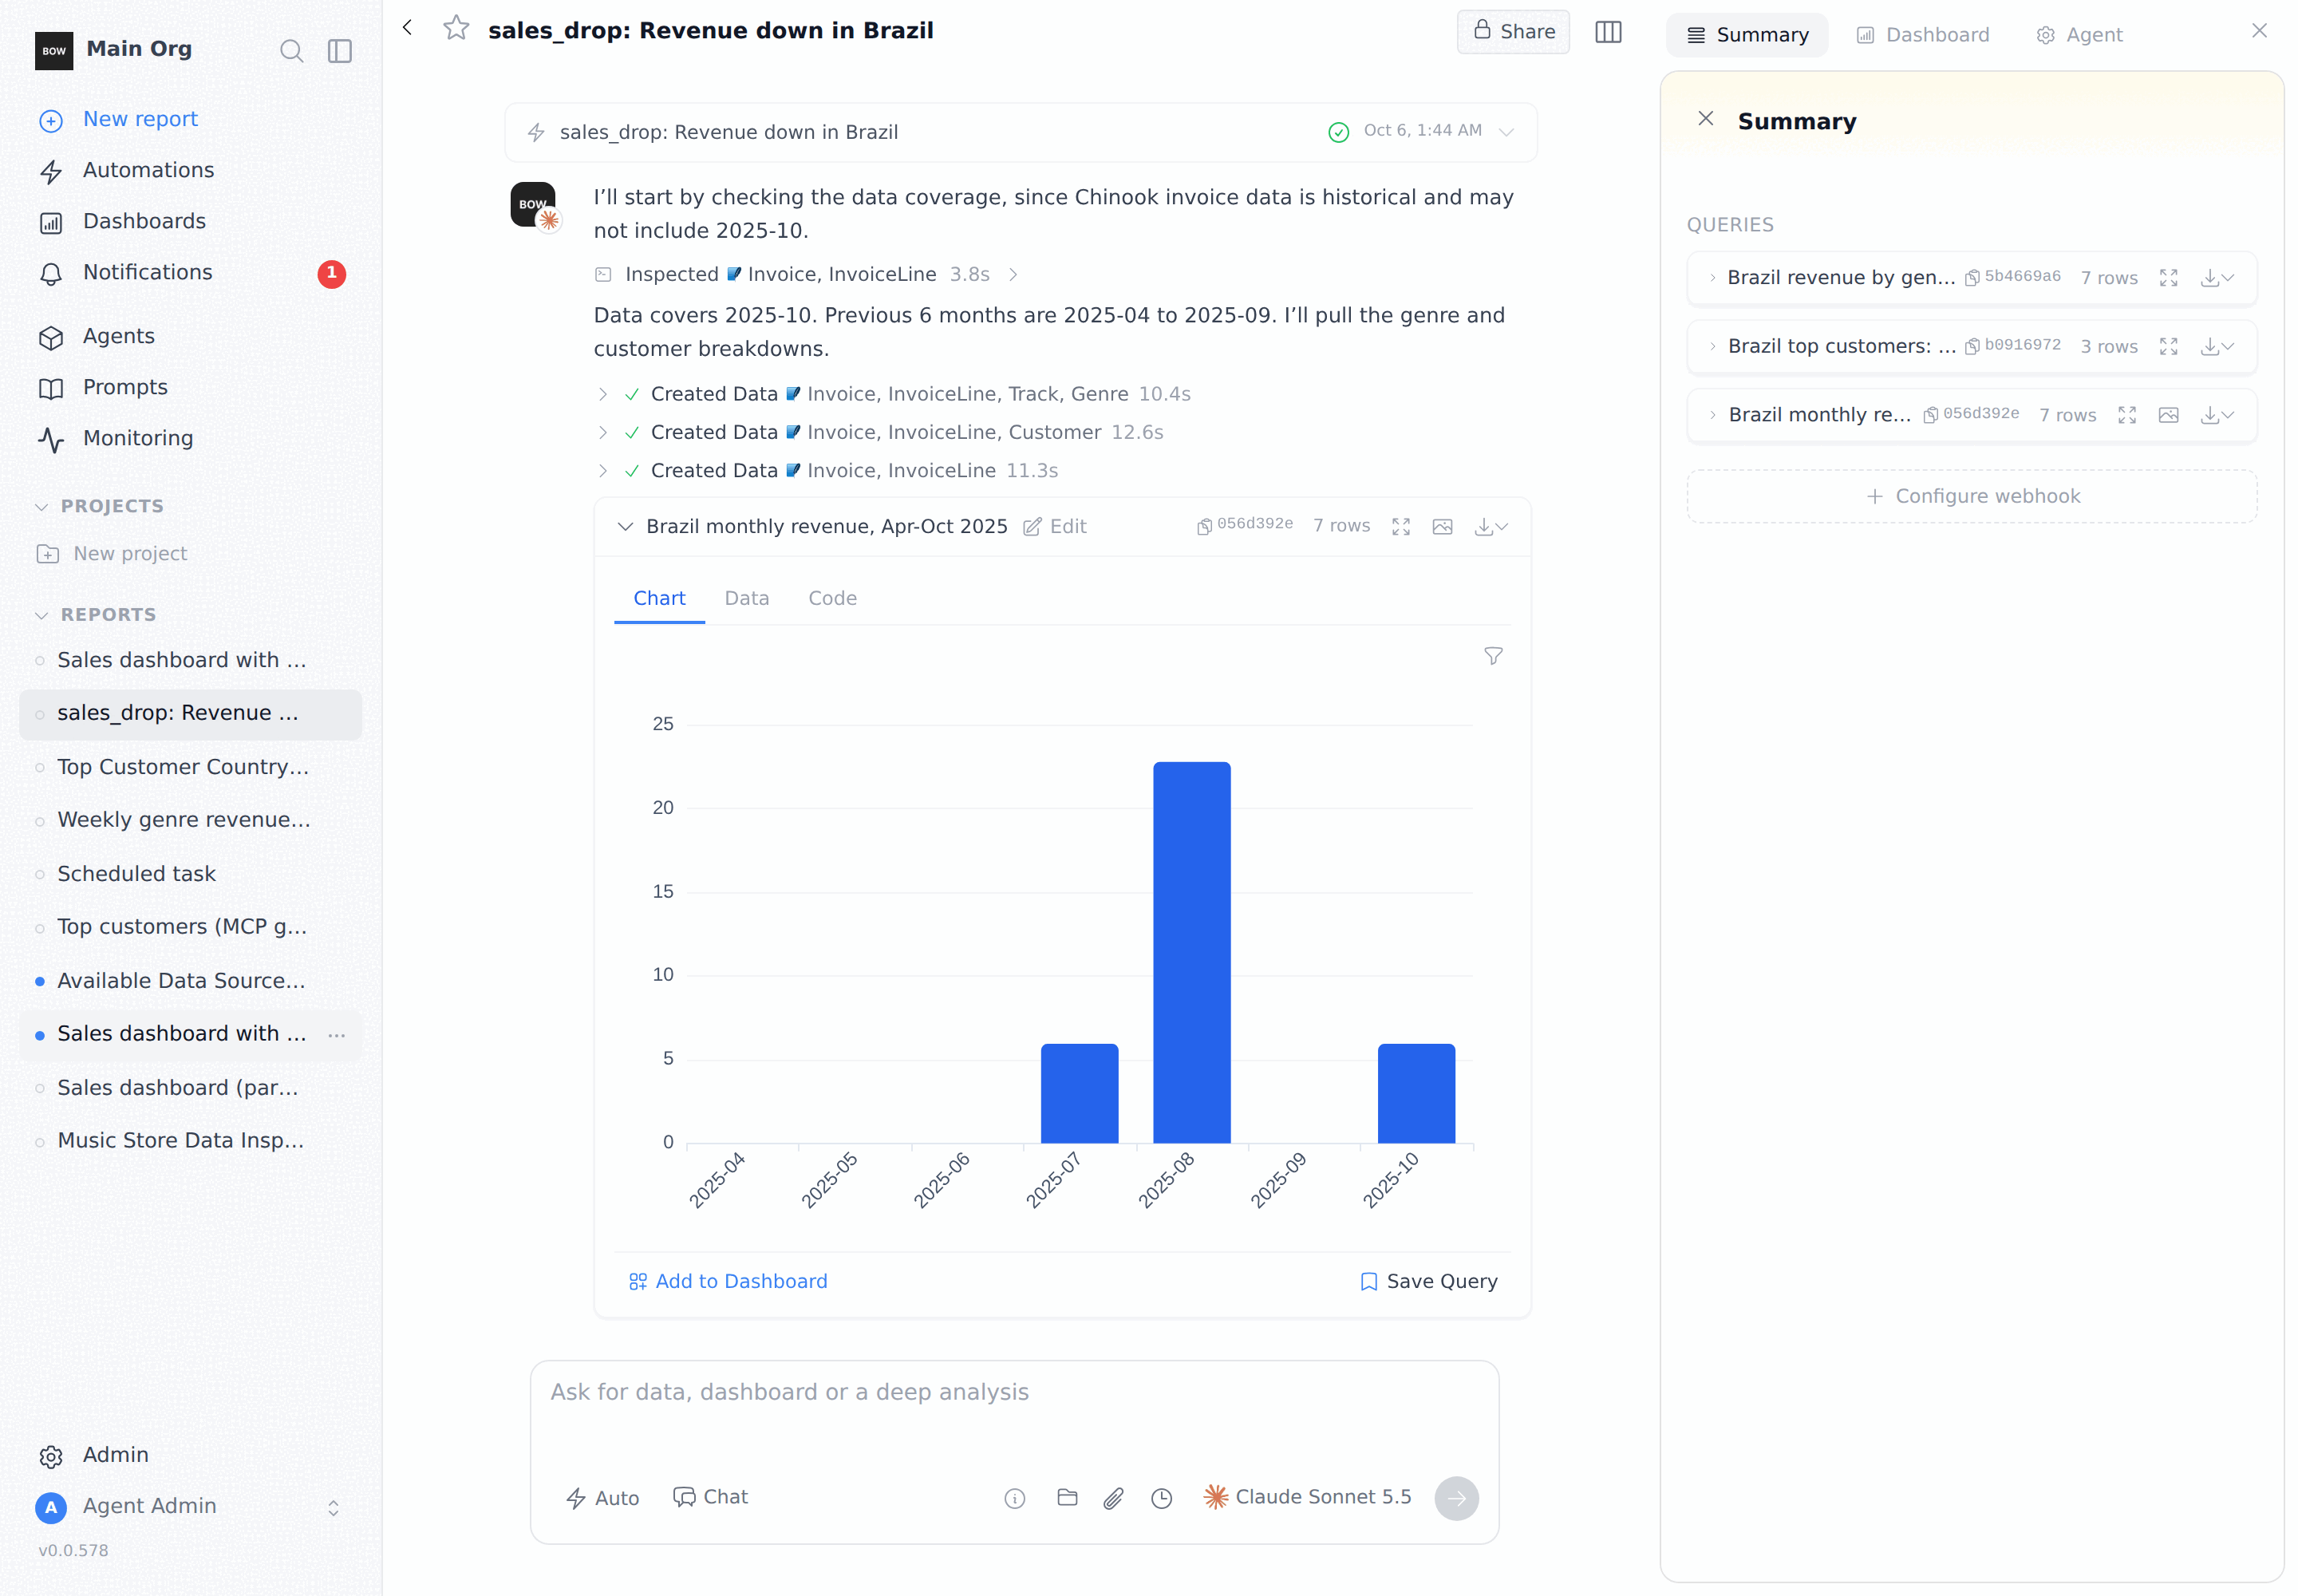
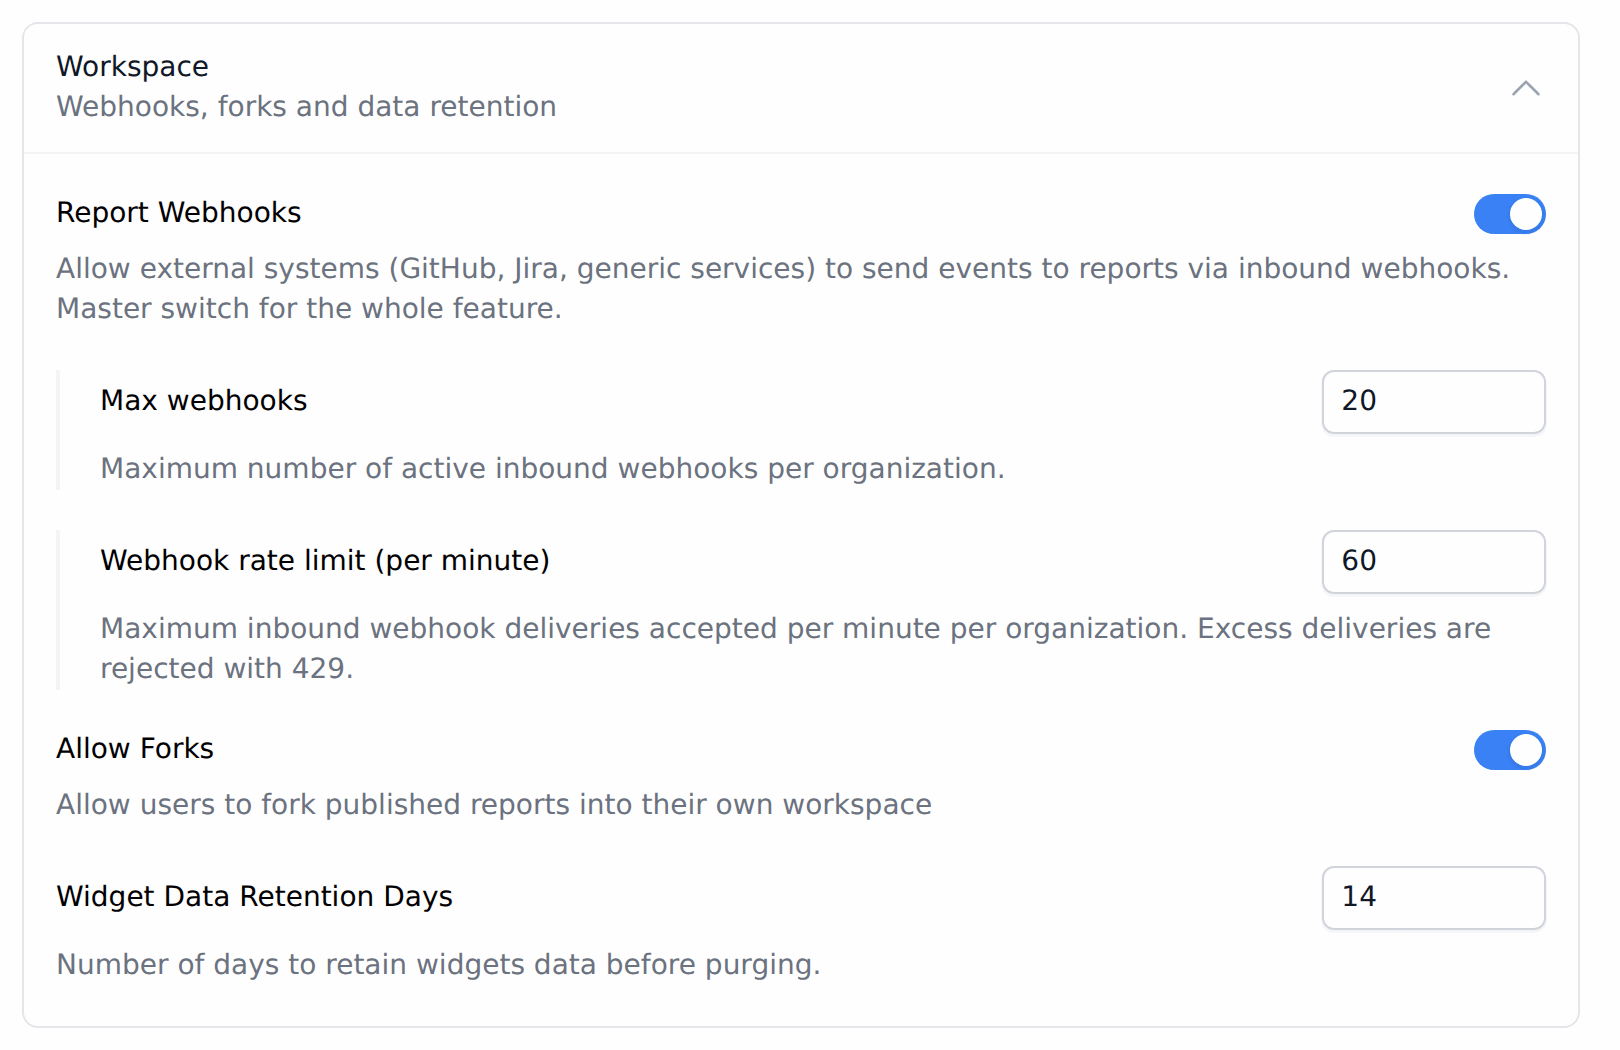
- Report Webhooks is on. An admin can check this in Settings → AI Settings → Workspace → Report Webhooks. It is on by default. The same section sets Max webhooks (20 by default) and Webhook rate limit (per minute) (60 by default). Deliveries over the limit get a
429response. - You have a sender. This is anything that can send an HTTP POST with a JSON body: an alerting tool, Zapier, a CI job, a cron script, or
curl.
Step 1: Create the trigger
Open Automations and select the Triggers tab. Click New trigger.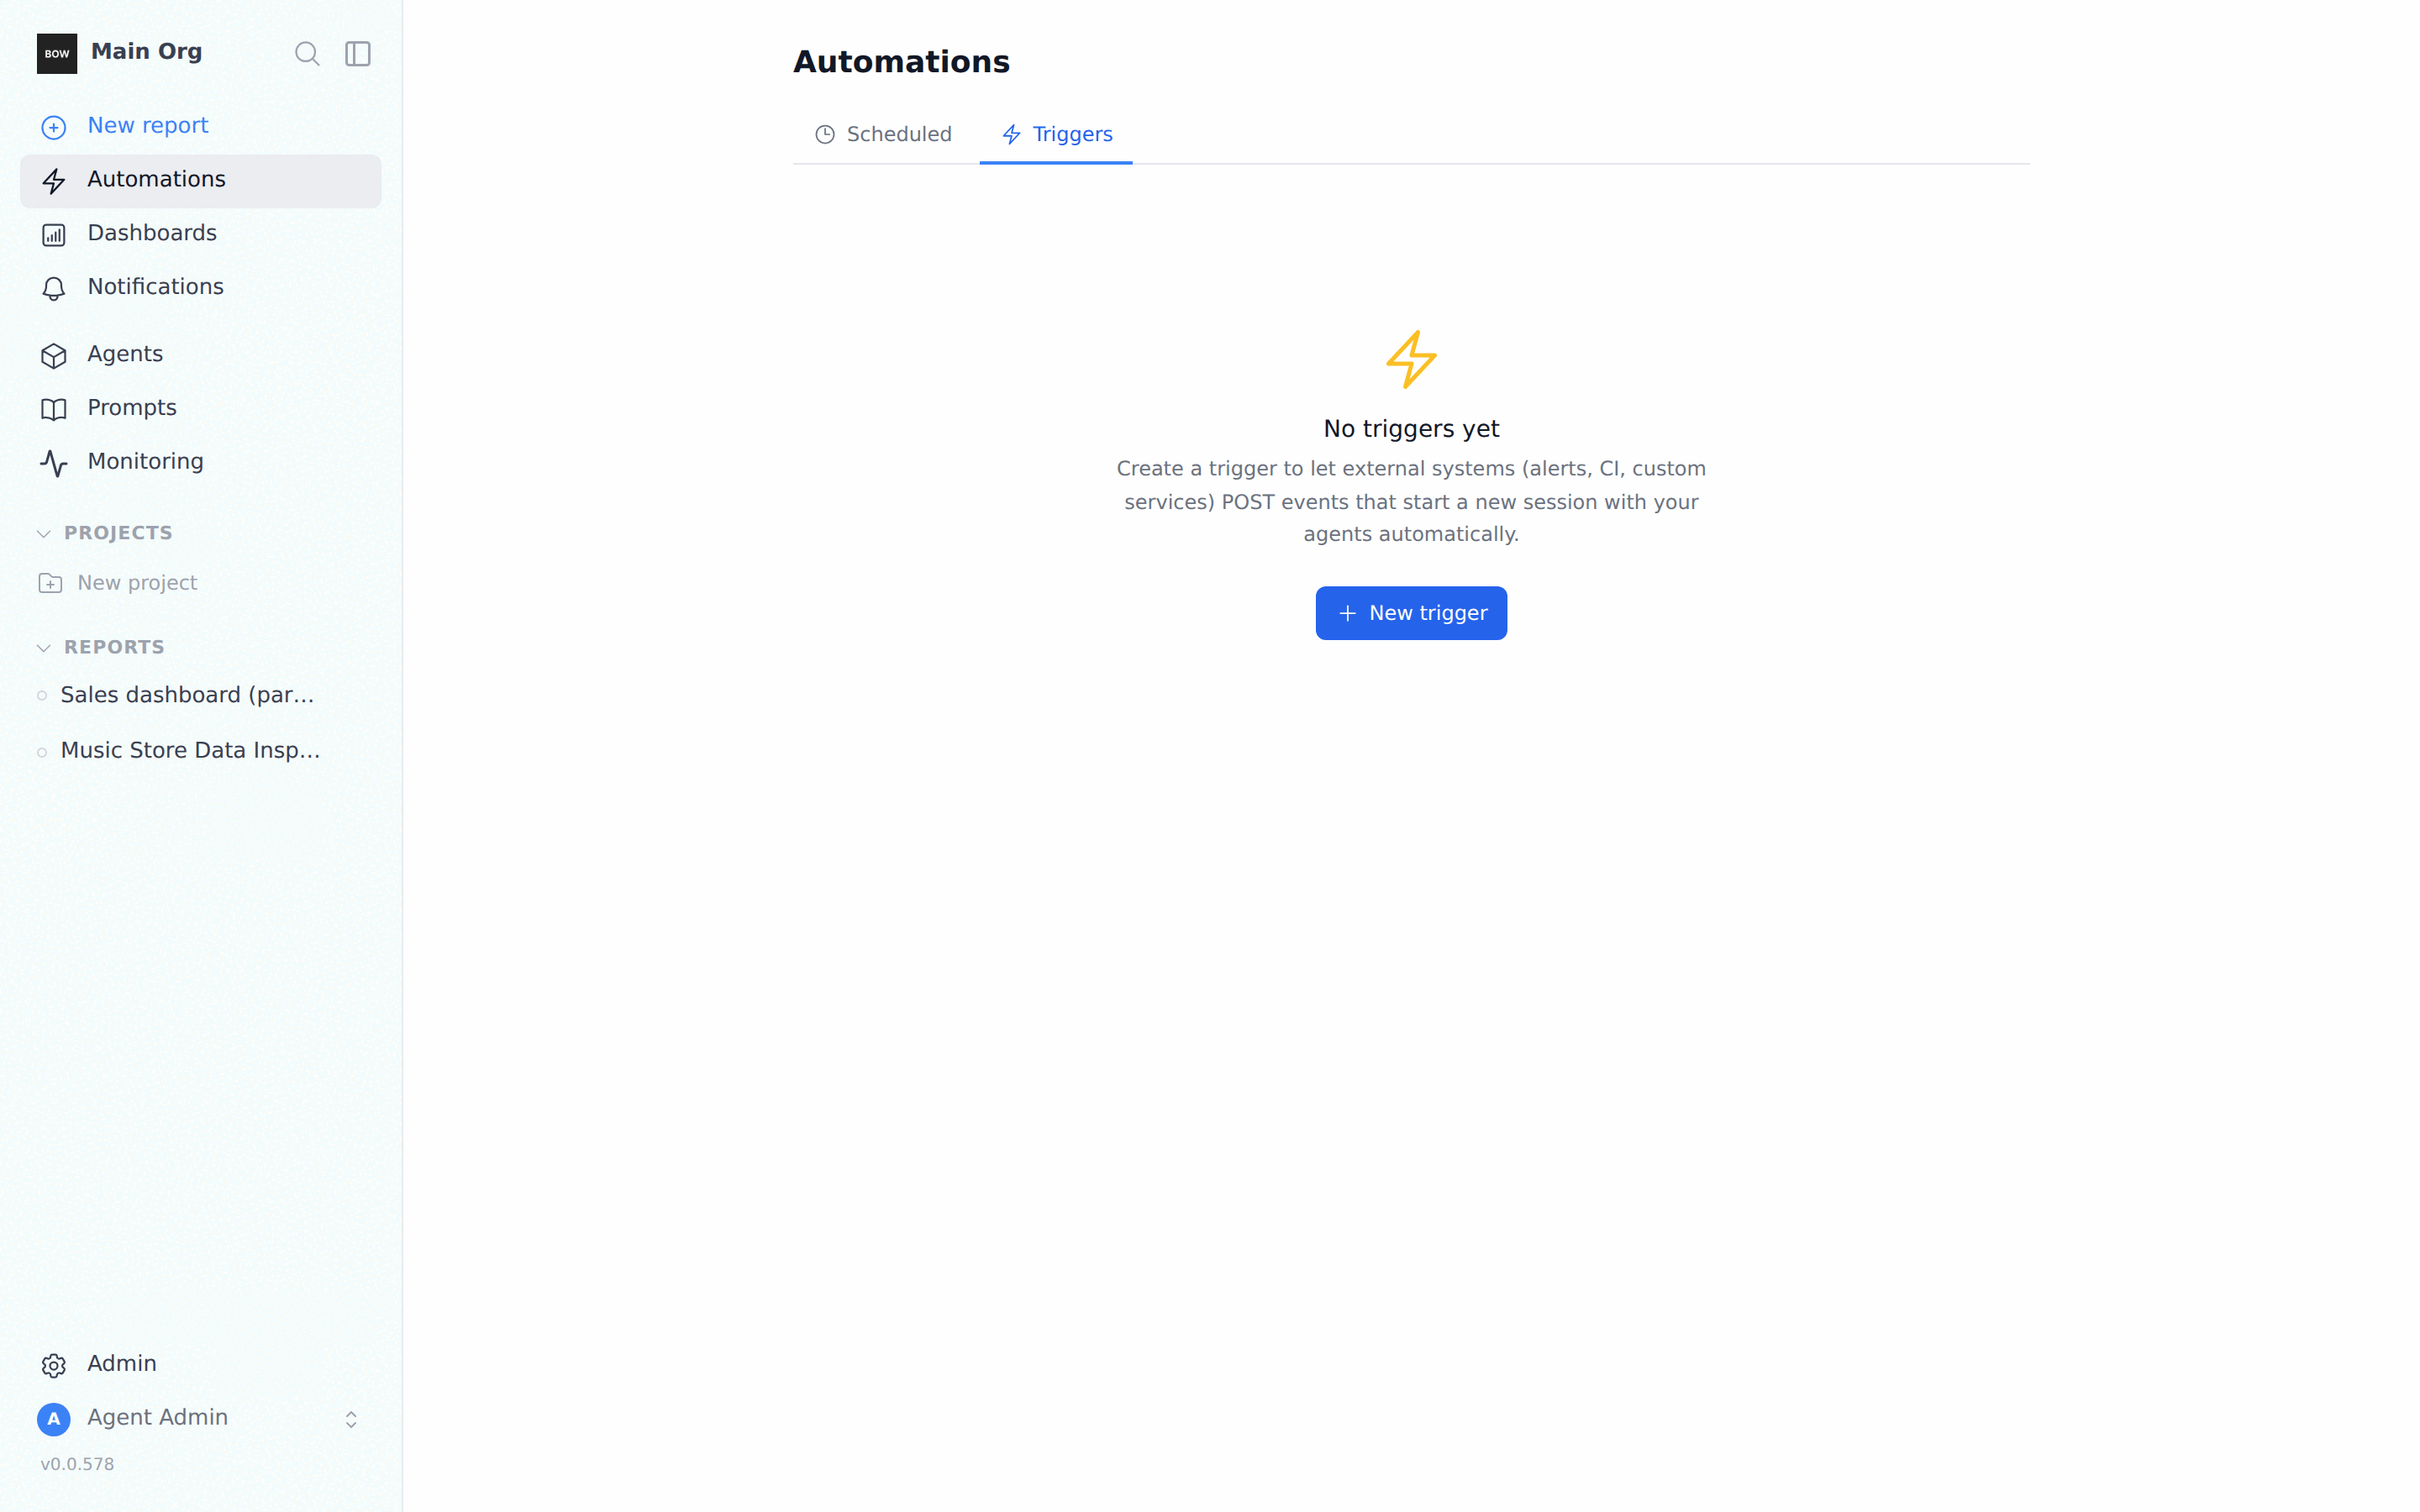
Step 2: Choose how the sender authenticates
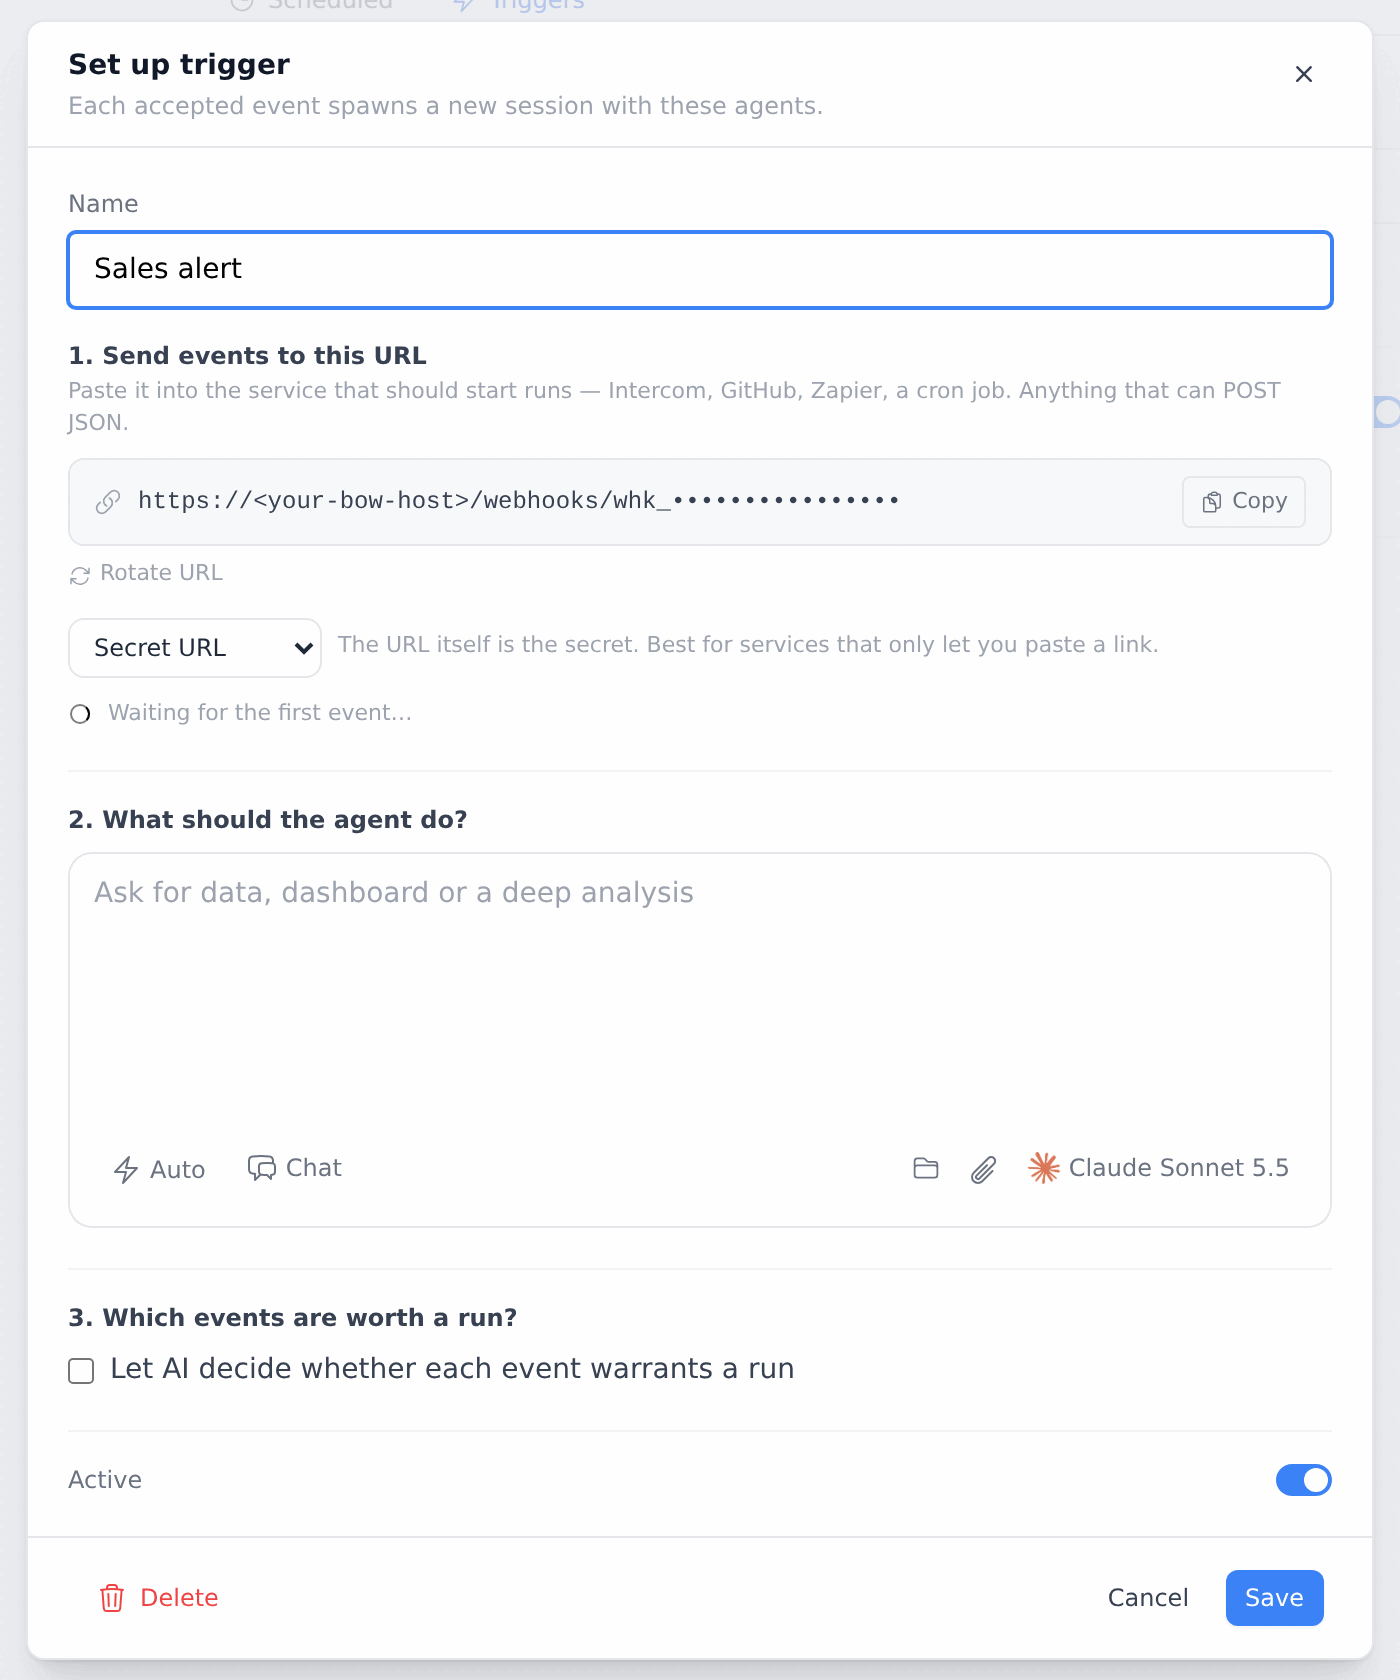
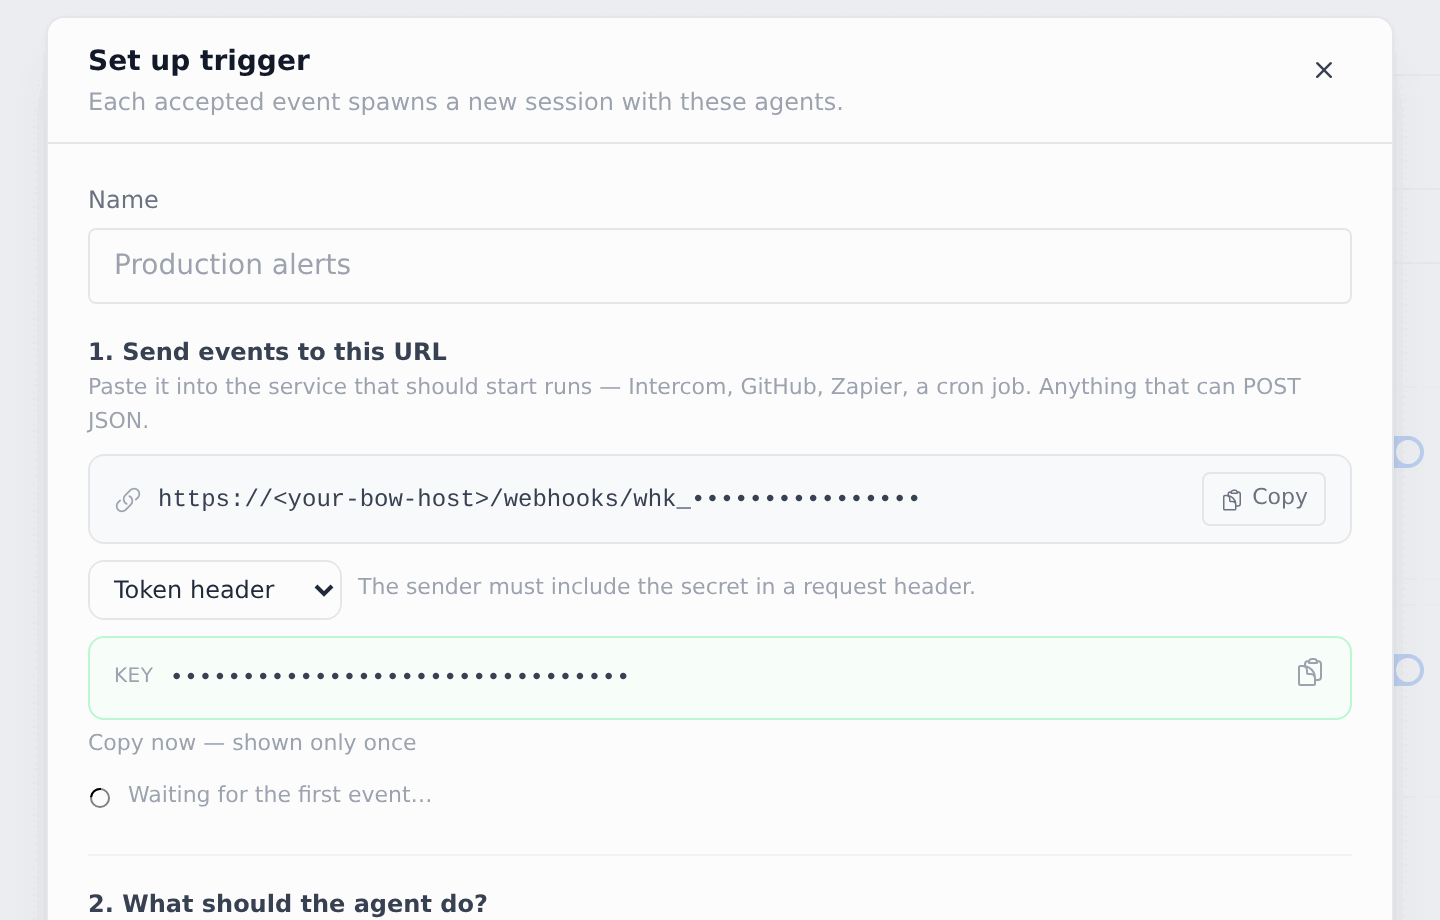
Under 1. Send events to this URL, click Copy to copy the URL. Then choose an auth mode:
For Token header and HMAC (signed), the window shows a Key once. Copy it before you close the window. If you lose it, click Rotate signing key to get a new one. The old key stops working.
Step 3: Send a test event
Keep the window open and send a sample event from your sender. Withcurl and Secret URL:
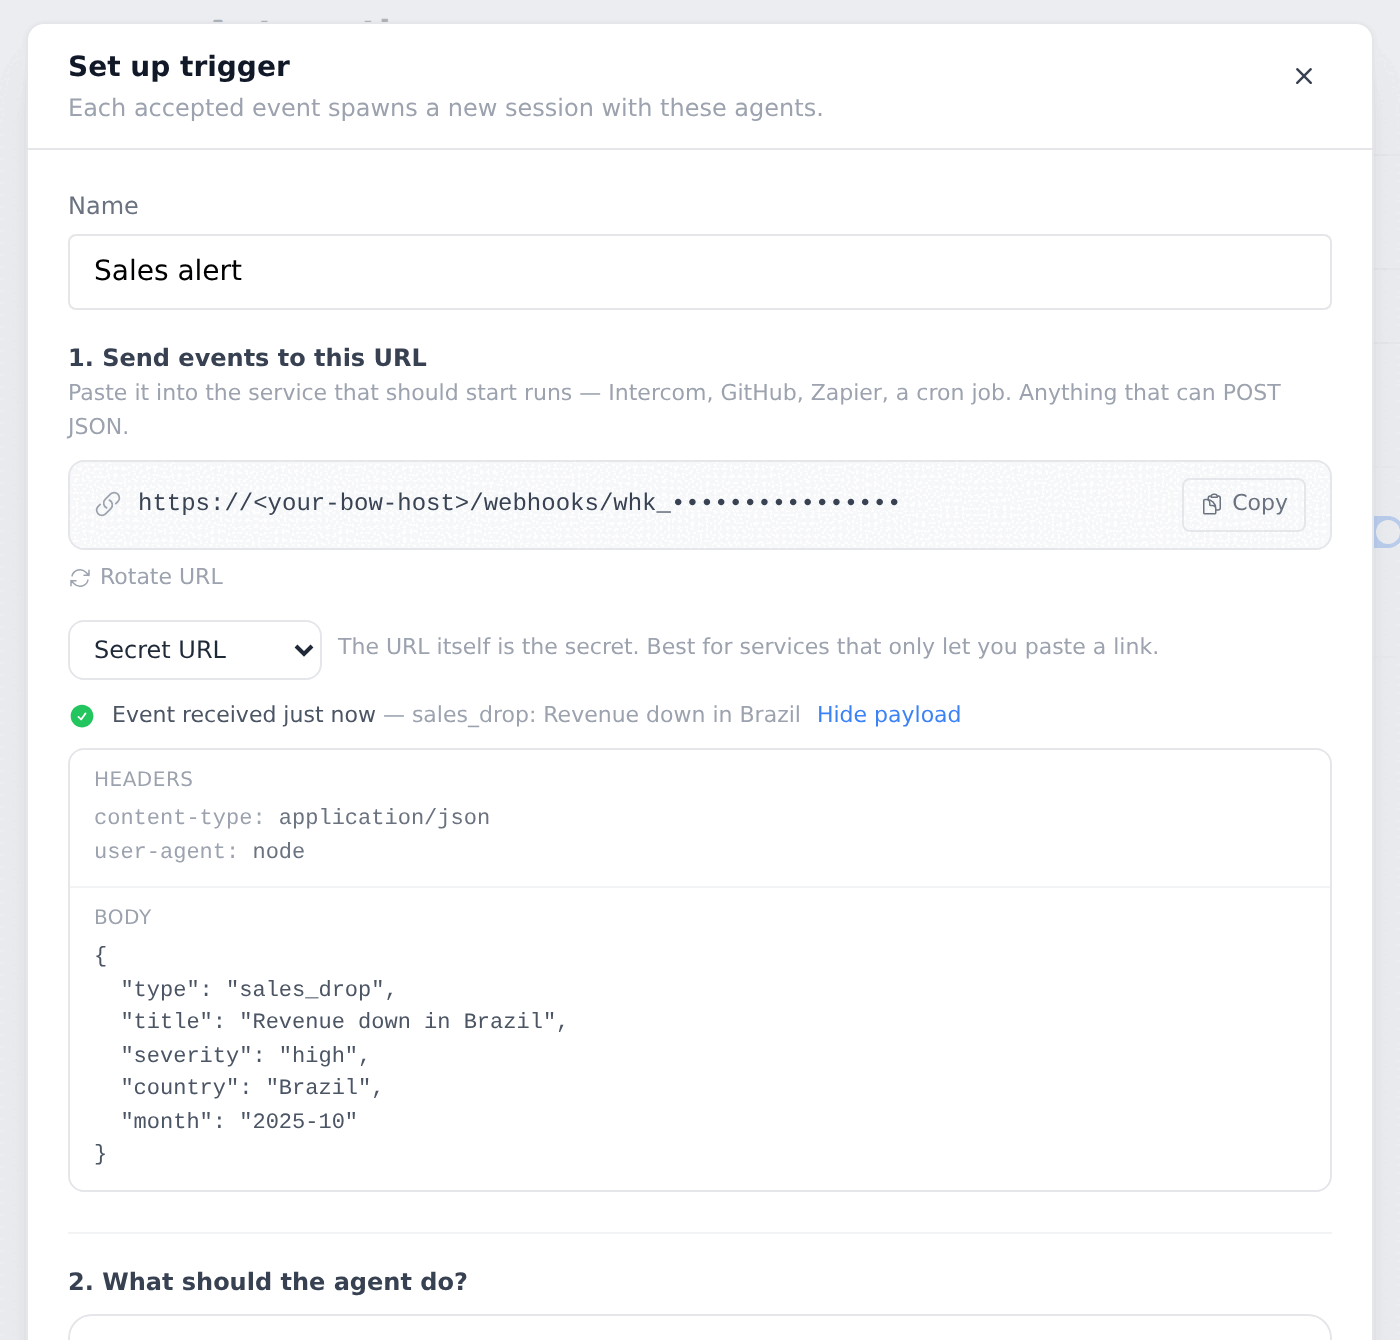
Until the trigger has a task or the AI filter is on, events are only recorded. The response is
{"status":"captured","detail":"Trigger has no task yet"} and no session starts. This lets you test the connection safely.Step 4: Tell the agent what to do
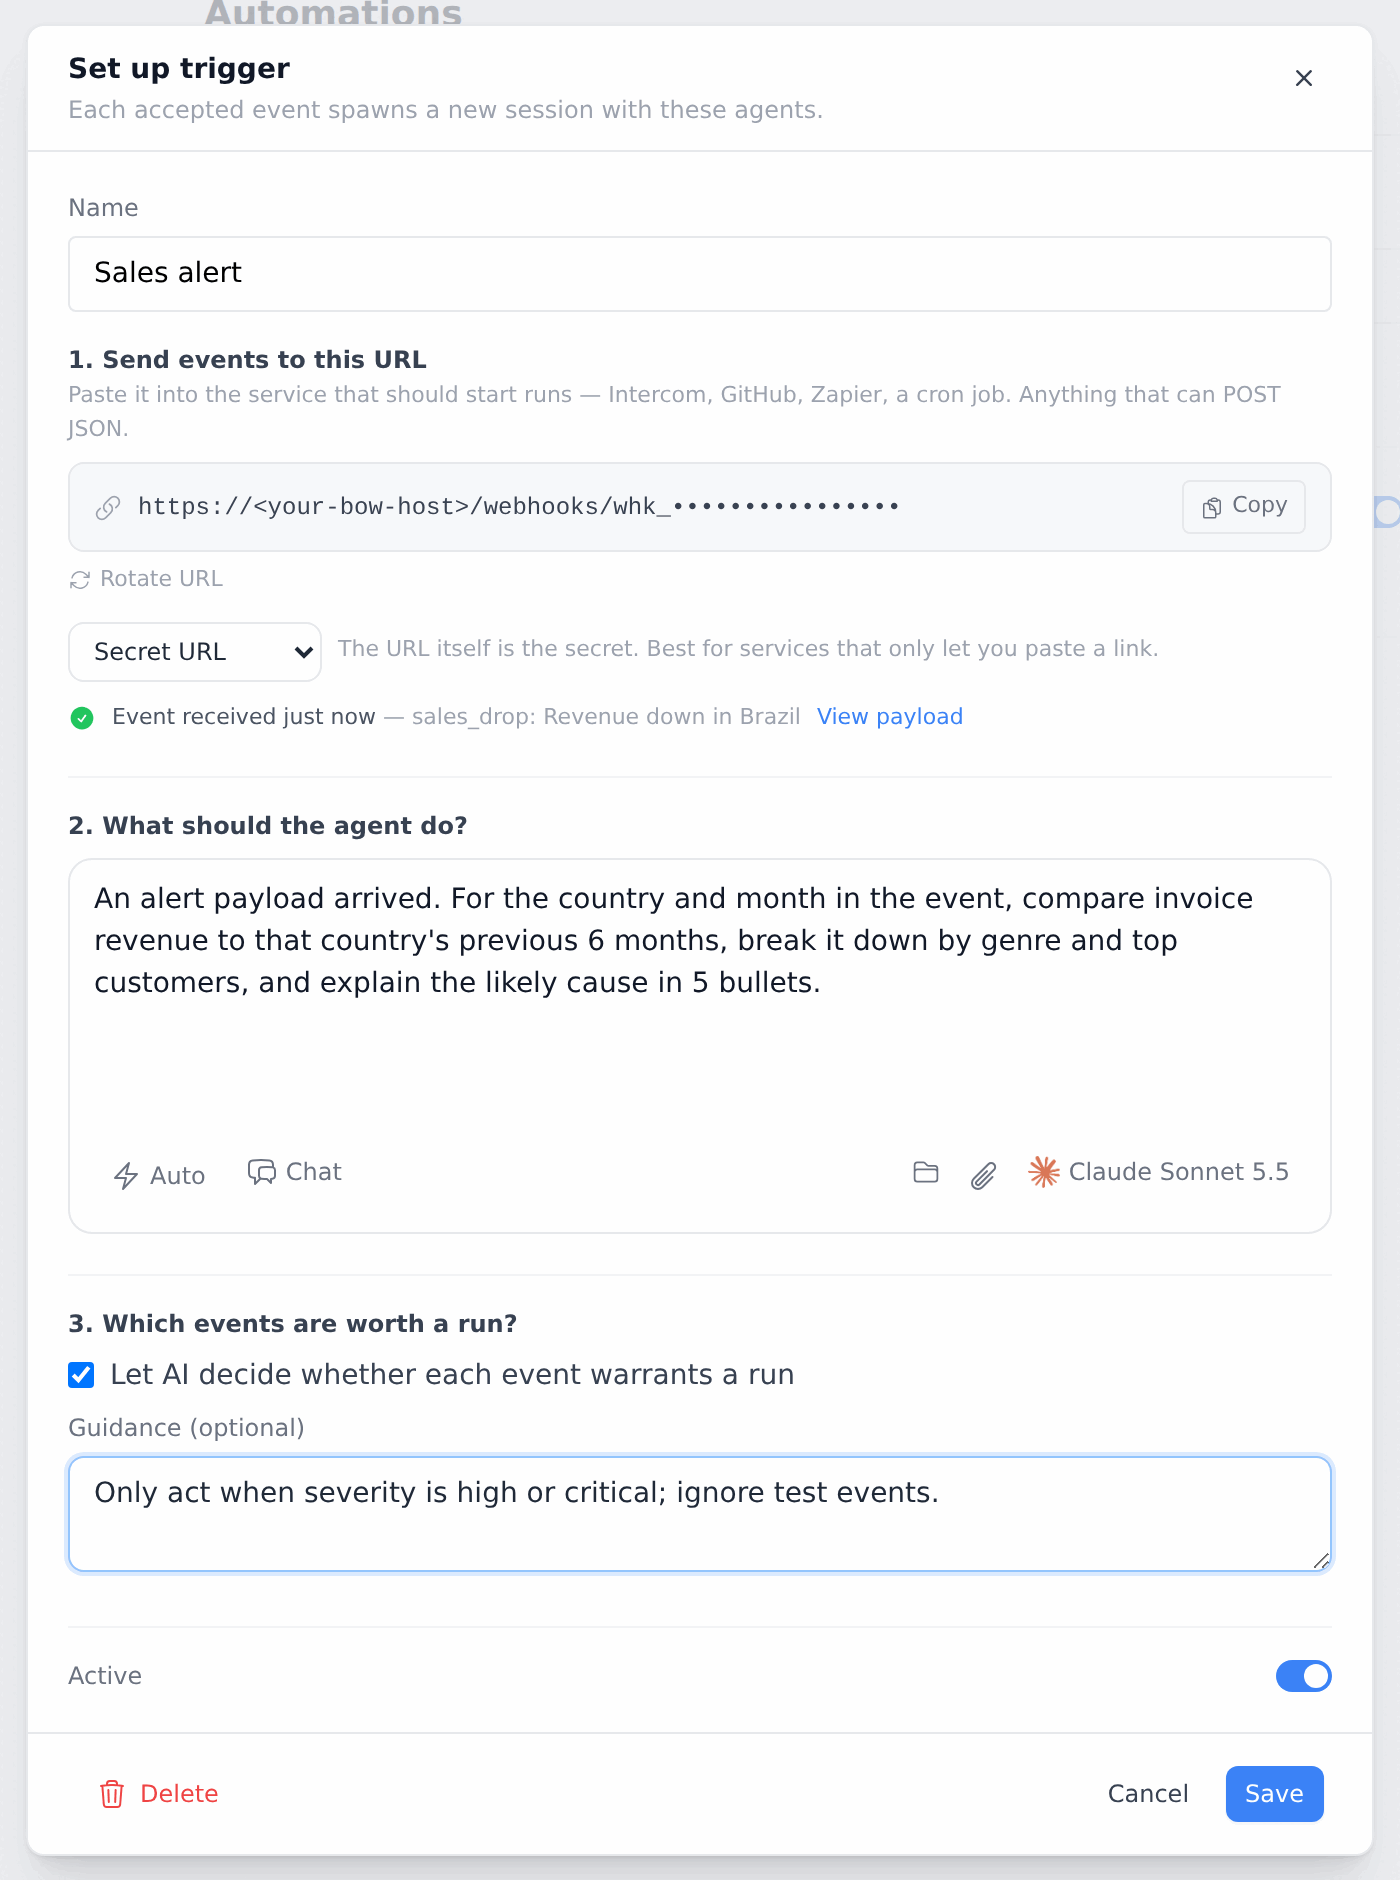
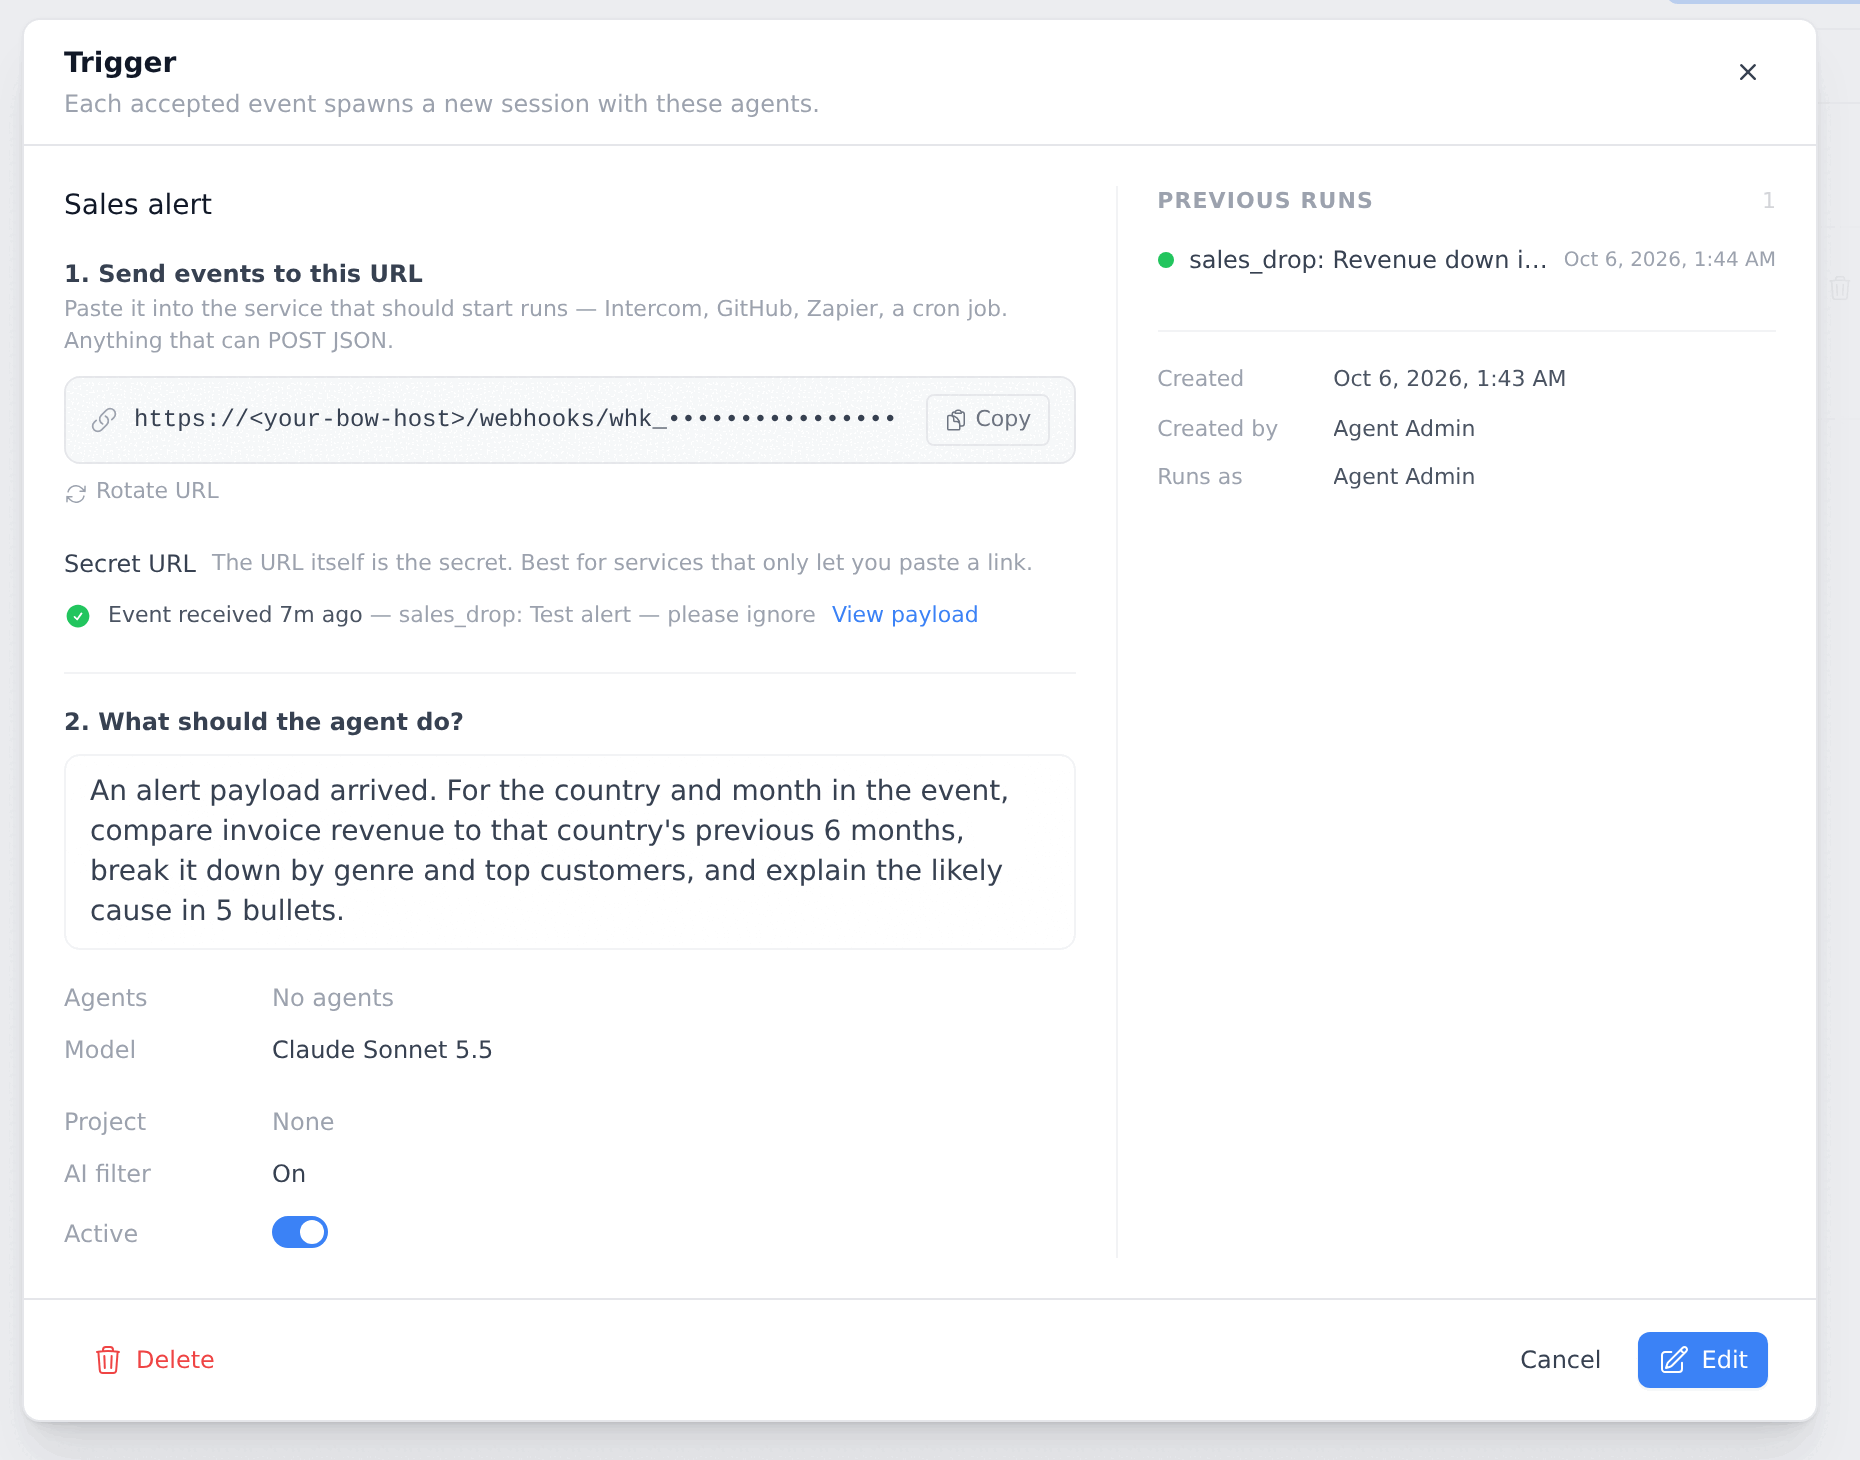
Under 2. What should the agent do?, write the task. The agent gets this task plus the event, so refer to fields in the event rather than fixed values:An alert payload arrived. For the country and month in the event, compare invoice revenue to that country’s previous 6 months, break it down by genre and top customers, and explain the likely cause in 5 bullets.The prompt box works like the one in a report. You can choose the model and a project. New sessions are created in that project. Leave the agent picker on Auto: the agent then uses whichever of your agents fits the event.
Step 5: Decide which events are worth a run
Under 3. Which events are worth a run?, select Let AI decide whether each event warrants a run. In Guidance (optional), describe the events you care about:Only act when severity is high or critical; ignore test events.Make sure Active is on, then click Save.
Step 6: Fire a real event
Send the high-severity event from Step 3 again. The response is{"status":"accepted"}.
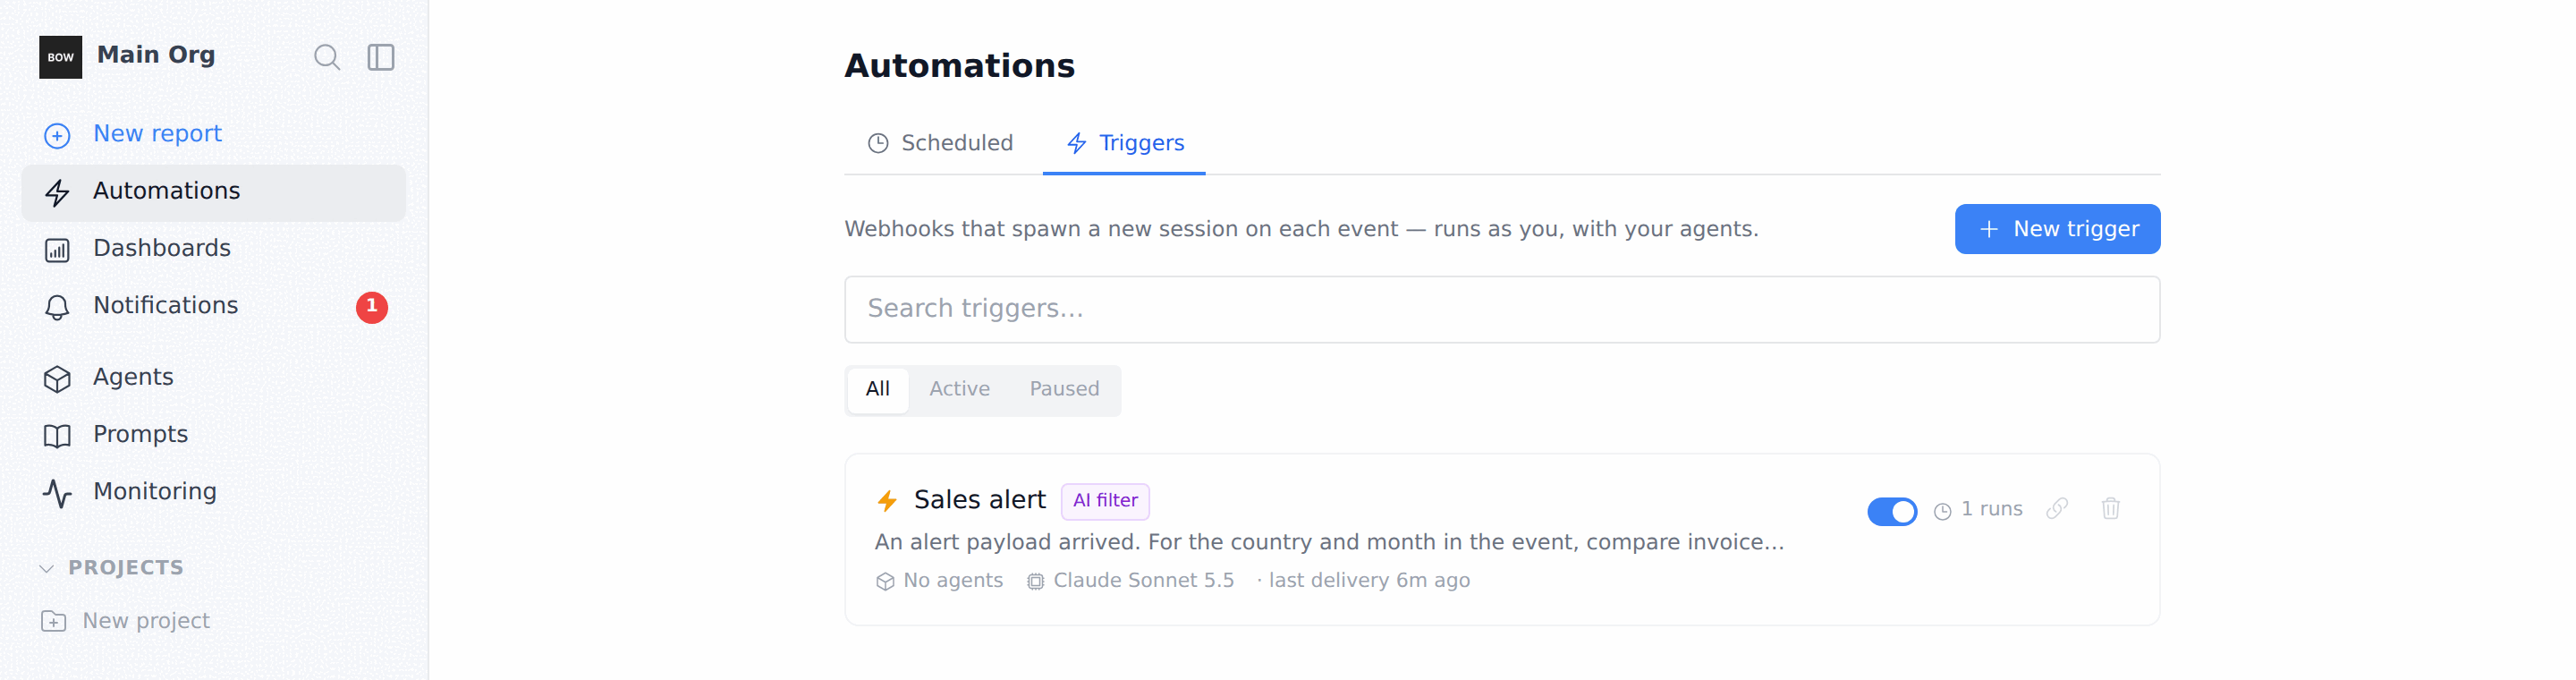
A new session starts in your Reports list, titled from the event (here, sales_drop: Revenue down in Brazil). The event shows at the top of the session. Below it, the agent checks the data, builds the charts and tables, and writes its findings. In our run, it found that the “drop” came from a small baseline: Brazil had only a few invoices a month, and one large month (August) skewed the comparison.
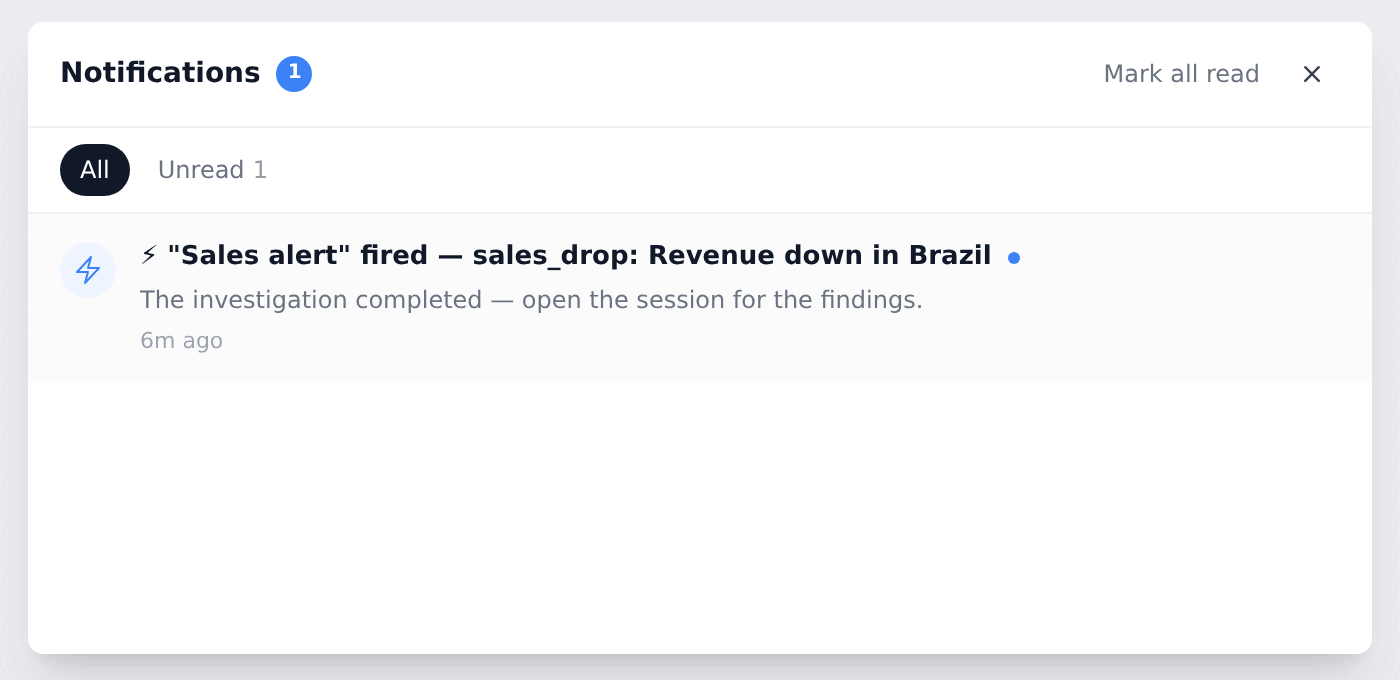
When the run finishes, you get a notification: ⚡ “Sales alert” fired — sales_drop: Revenue down in Brazil, with the message “The investigation completed — open the session for the findings.” Click it to open the session.
Step 7: Check that noise is skipped
Send an event that your guidance says to ignore:{"status":"accepted"}, but no session starts and you get no notification. To confirm, click the trigger card. Event received shows the test event, while Previous runs still lists only the one real run.
Send events from your own code
Token header"<timestamp>.<body>" with HMAC-SHA256 using the key. Send the Unix timestamp in X-BOW-Timestamp and sha256=<hex digest> in X-BOW-Signature-256. Requests with a timestamp more than 5 minutes old are rejected.
X-BOW-Delivery is optional. If the same delivery ID arrives twice, the second one is ignored, so retries from your sender don’t start duplicate runs.
Responses
A
GET to the URL returns {"status":"ready"}, so senders that check the URL before saving it work.
Send events into an existing report instead
A trigger starts a new session for every event. If you want events to collect in one report, open that report, open the Summary panel, and click Configure webhook. Choose a Source and Auth, select Let AI decide whether to respond if you want a filter, and click Create webhook. Each event is then added to that report.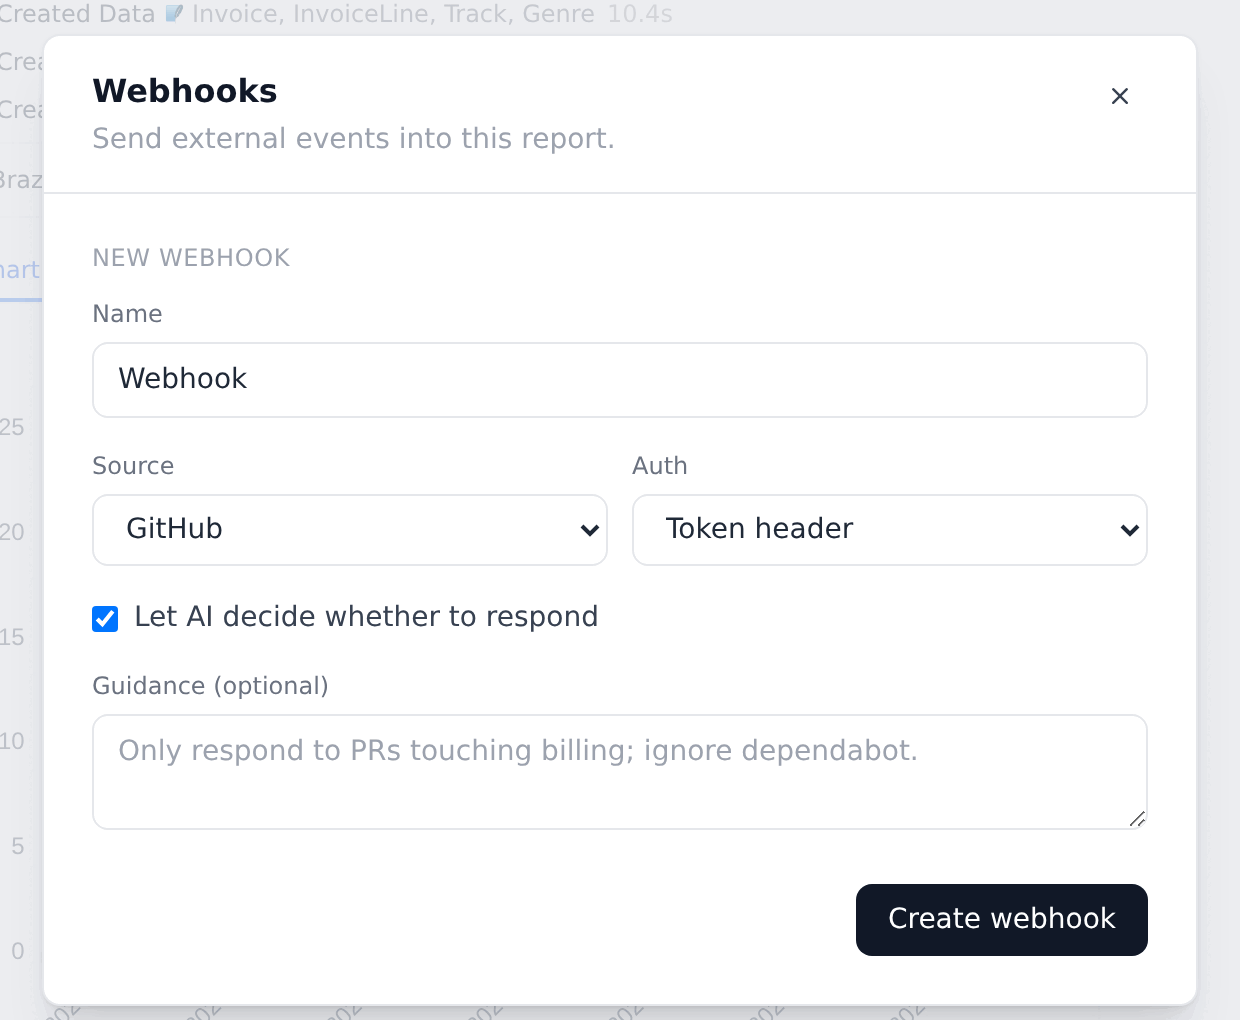
Tips
- Write the task against the event. Say “the country and month in the event”, not “Brazil”. The same trigger then handles every alert.
- Keep payloads small. The agent sees the first 2,000 characters of the JSON body. Put the important fields (
type,title,severity, IDs) near the top. - Use
typeandtitle. The session title is built from them, for examplesales_drop: Revenue down in Brazil. - Runs act as you. A trigger runs with your access and your usage. The trigger summary shows this under Runs as.
- Pause instead of delete. Use the toggle on the trigger card to pause it. While it’s paused, events are recorded but don’t start runs (the response is
{"status":"captured","detail":"Trigger is not active"}), and the URL keeps working.
Troubleshooting
- “Event received” never appears. Check the URL host. It must be the address of your Bag of Words server as your sender sees it. Try a
GETto the URL first. It should return{"status":"ready"}. - Events arrive but no session starts. Check that the trigger is active, has a task, and that the AI filter’s guidance doesn’t exclude the event.
401 Invalid signaturewith HMAC. Sign the exact bytes you send, include the.between timestamp and body, and make sure the clock on the sending machine is correct.